How can we help?
1. Quick Start Guide
Lamp Setup Instructions
The new lamp(s) should be charged for 4 hours using the provided micro-usb cable. The lamp can be controlled by either the push button or the app during charging. The LED will turn RED during charging, and GREEN once charging is complete.
Configuring the Lamp(s):
1. Download the App from the Apple App Store or the Google Play Store
- Click on the link in the Email Invitation.
- iPhone users will need to first install the “Test Flight” App on their phone.
2. Reset the Lamp to prepare it for pairing to the App.
- Press the Red Button underneth the lamp for 12 seconds.
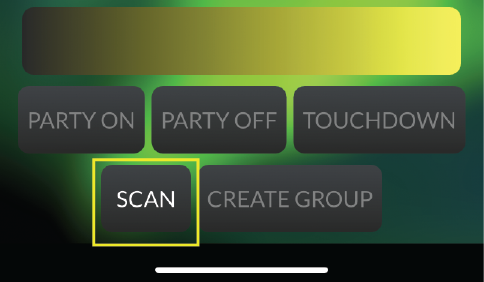
3. Scan for new Lamp(s) in the App – Press the “Scan” button.
- The App Scan button will say “Scanning”.
- LED will flash BLUE briefly when a connection is made.
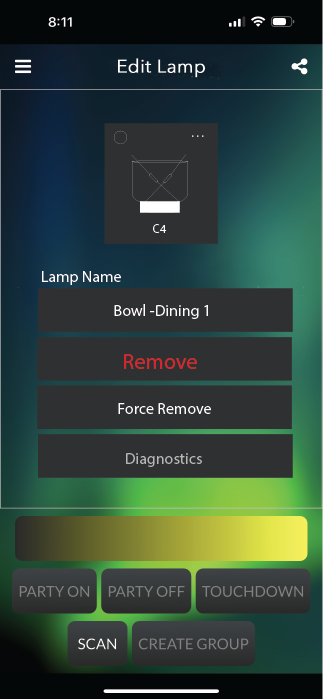
4. Name the Lamp
- Once a connection is made, the “Name Lamp” page appears.
5. Lamp Controls
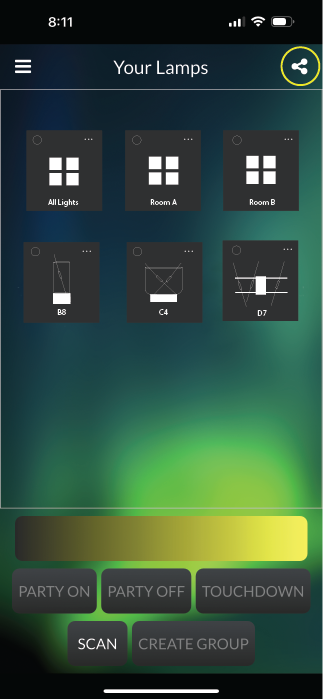
- Select individual lamps by clicking on the circle in the upper left corner of its icon. You may select multiple lamps this way, or select “All Lamps” to control all connected lamps simultaneously.
- Lighting level is controlled with the Off/Low/Medium/High buttons, or the Brightness Slider.
- Party Mode On causes selected lamps to flash on/off until Party Mode Off (or another mode) is selected.
- Touchdown mode flashes on/off briefly, then returns to the previous mode.
6. Reconnecting to the Mesh when returning to the App.
- Hit the Connect Icon in the upper-right corner of the screen.


